Making a Raycast extension
Everyone likes shortcuts!
Whether you are on Windows Linux or MacOS, I think most "Power Users" use some kind of quick search shortcut. On Windows there is PowerToys Run, on Linux you have Albert and (for a long time) I used Alfred on my Mac.
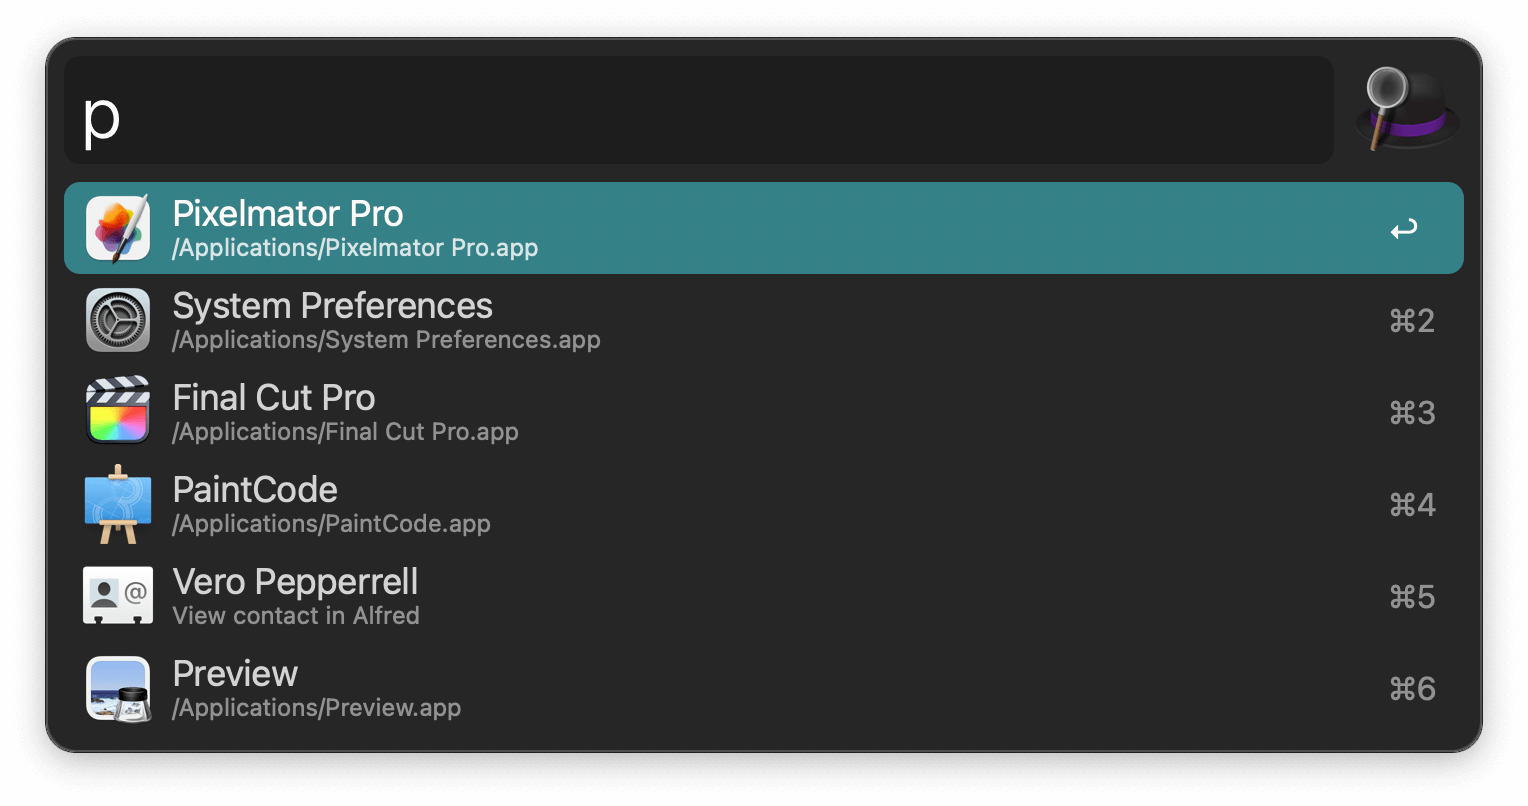
Alfred on MacOS
Lately Raycast has gained more popularity for MacOS users specifically. Now don't worry, on the FAQ of Raycast they say that eventually they will port to Linux and Windows. This popularity is caused by two things:
- It's free (they have pricing for large teams and organizations).
- It's easy to make extensions, because the documentation is really clear and has loads of examples.
Looking at the documentation I really wanted to try it for myself.
Why?
As I mentioned above, I used to use Alfred on my Mac. It had some excellent development extensions. The two shortcuts I used most:
- Colors
- Calculate Anything.
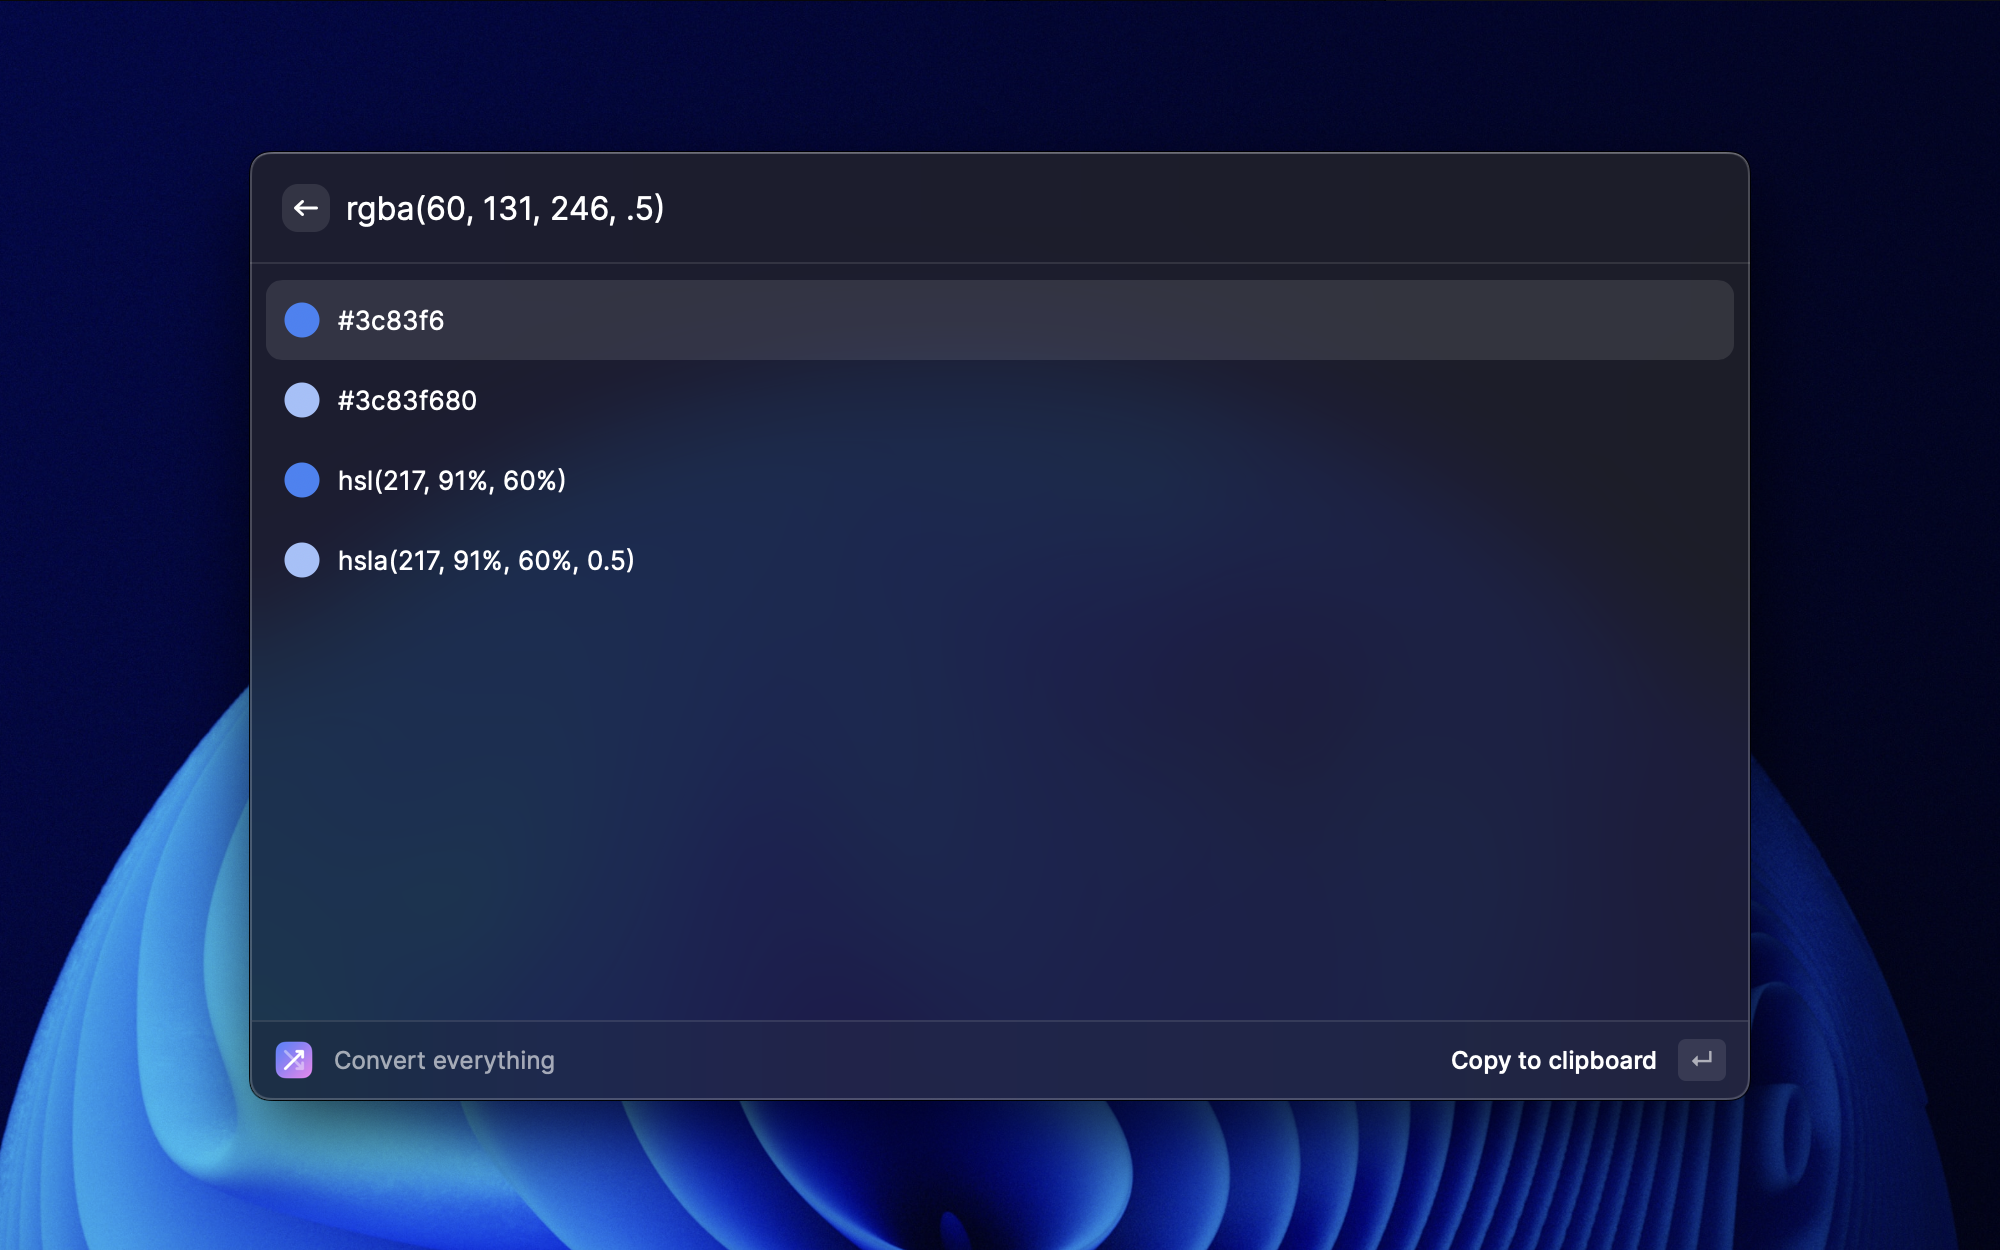
The first one is an extension that can take any color value and automatically outputs possible conversions.
Typing
#0094d4would result in the typical conversions torgbandhsl, but on top of that it would also show the Kotlin and Swift variants of the color. For web and mobile development this was extremely helpful and something similar did not exist in Raycast yet.
The second, Calculate Anything, is a little more advanced. It can almost "calculate anything". 100eur to usd, 10px to rem, 100miles to km: it could do it all!

The Calculate Anything extension on Alfred
Now admittedly, I only used a small part of these extensions: The px to and from rem and the color hex to and from rgb. But because of the way Alfred extensions work, they make use of one and the same input. Meaning that the extensions just wait until a certain pattern is matched. "But what if two extensions match on the same pattern?" Well, then Alfred would throw an error. But this never happened to me, because I did not have a lot of extensions.
Raycast circumvents this problem by requiring the user to first "open" an extension. Now only the extension that is opened can match on the input, but this does add an extra step!
How?
As stated above, the Raycast documentation is very clear. They basically provide you with a basic "hello world" extension that you can edit. And you can just start by typing "create extension" in Raycast itself!
I started by making an conversions.ts where I all the different conversions would live.
While color conversions were more difficult, others were quite easy:
export const REMtoPX = (rem: number) => rem * BASE_FONT_PIXELS;export const REMtoPT = (rem: number): number => rem * 12;export const PXtoREM = (px: number): number => px / BASE_FONT_PIXELS;export const PXtoPT = (px: number): number => px * 0.75;export const PTtoREM = (pt: number): number => pt / 12;export const PTtoPX = (pt: number): number => pt / 0.75;I get the BASE_FONT_PIXELS from the user preferences. I almost never change the standard font size of 16px, but if you have to change it, you can do that in the preferences of the extension.
At first, I just started with the conversions listed above. To use them I had to edit the main .tsx file, and yes (out of the box) extensions are written with React! I'm no React expert, so if you see something: don't be scared to make a pull request to https://github.com/nielsvanrijn/extensions/pulls.
Editing the .tsx file is easy. Raycast provides several react components you can use to make your extension fit in.
In the export default function Command() {} I just made several variables to store the different conversion outcomes.
const [rem, setREM] = useState<number | null>(null);const [px, setPX] = useState<number | null>(null);const [pt, setPT] = useState<number | null>(null);After this, I made an handleOnTextChange function that, yes, handles a text change event.
I first set all values to null and made sure that if the input is empty, I return.
setPX(null);setREM(null);setPT(null);if (value === "") return;When this is done, it's just a matter of finding out what kind of input it is.
This is the code to check if the value is rem:
// check if input is remconst remMatch = value.match(/(\d+|^.\d+|^,\d+|^\d+,\d+|^\d+.\d+)(\srem|rem)/i);if (remMatch) { console.log("its a rem"); setPX(REMtoPX(Number(remMatch[1]))); setPT(REMtoPT(Number(remMatch[1])));}Github Copilot is great for mundane tasks, but for regexes it's not the right tool for the job. Regexes are not easy to understand at a glance, and even though I know most of the syntax, I like to always test my regexes. This is why I like using regex101.com. It's just one of the multiple options to test your regexes, but I got used to this one 🤷♂️.
With this regex the following cases are matched:
10rem
10 rem
1.25rem
1.25 rem
1,25rem
1,25 rem
This should cover most cases (please stop using , in numbers).
Now that I have the px and/or the rem values, I can return them to the user using the React components provided by Raycast.
return ( <List onSearchTextChange={handleOnTextChange} searchBarPlaceholder="Type your unit here... (eg.: 22px or #006699)" > <List.Section> {rem && ( <List.Item title={`${rem}rem`} accessories={[{ text: "to rem" }]} actions={ <ActionPanel title="Copy"> <Action.CopyToClipboard content={`${rem}rem`} /> </ActionPanel> } /> )} {px && ( <List.Item title={`${px}px`} accessories={[{ text: "to px" }]} actions={ <ActionPanel title="Copy"> <Action.CopyToClipboard content={`${px}px`} /> </ActionPanel> } /> )} // ... you get the idea </List.Section> </List>);"Hey, you could make that way DRY-er by making a component that can dynamically handle all cases!" Yes yes, I know 😅. Next year I'm learning React properly!

The result
I only extended the functionality to also convert colors and show the nearest TailwindCSS color (this was more of a personal feature).
Final thoughts
Making the extension was easy, but publishing is harder. You have to fork the whole Raycast repo and work from there. You can make this task lighter by using git sparse-checkout, but it still feels like a little bit of a hassle.
Linting and screenshots have requirements too, but these are quite easy to match.
I will definitely improve the extension more!
Get my extension here